"> chocolate - A Tipsy Giraffe - Page 6

Cheesecake Stuffed Triple Chocolate Chunk Pudding Cookies

Wow, what a tasty mouthful!

Cheesecake Stuffed Triple Chocolate Cookies

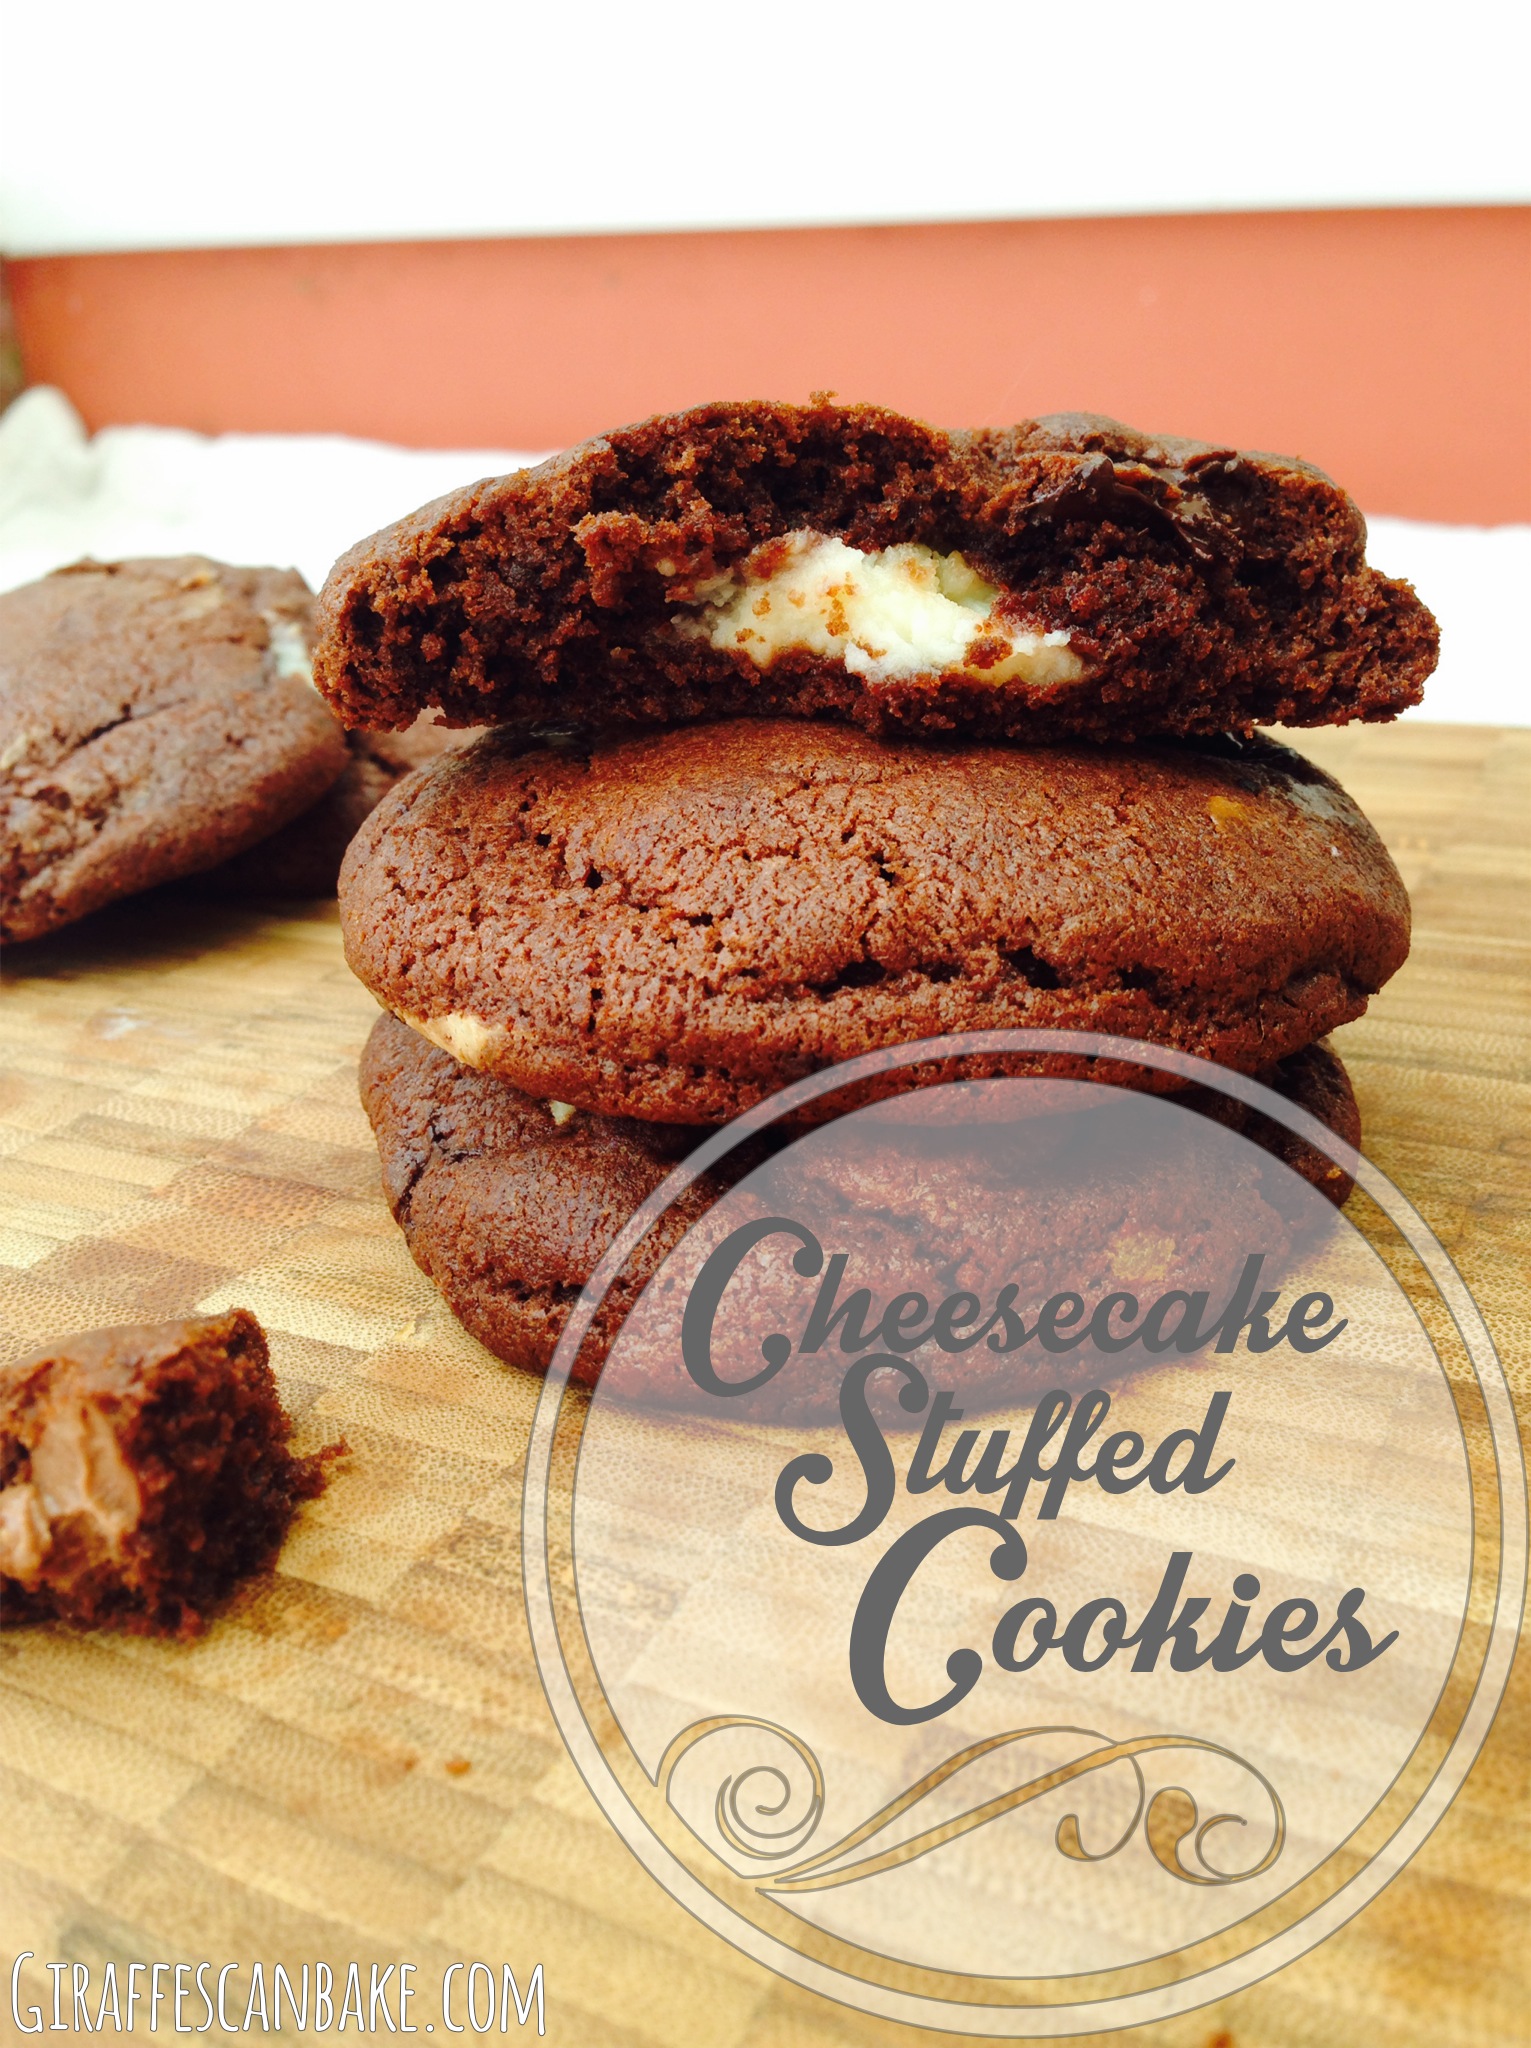
I made these cheesecake stuffed triple chocolate chunk pudding cookies on a whim, I felt like baking something and this was the first thing that came to mind with the stuff I had in the house. I love pudding cookies, I don’t think there’s any better cookie in the world. I was first introduced to them by Leah’s family, I was told their chocolate chip cookies are the best in the world and I wasn’t disappointed. After making their recipe a few times I branched out and started trying different things. Pudding cookies are wonderfully soft, they make for the perfect cookie texture!

Cheesecake Stuffed Triple Chocolate Pudding Cookies

Since making a peanut butter stuffed version of these cookies and making them about a thousand times (I’ll be making them again this weekend) I knew I had to change it up a little, cheesecake is the perfect thing to go inside a cookie isn’t it? I’ve also made a Nutella version of these so maybe I’ll post those up one day too.

Cheesecake Stuffed Triple Chocolate Pudding Cookies

This week’s post is being dedicated to my best friend, Leah. She is graduating Summa Cum Laude from Savannah College of Art and Design and I couldn’t be more proud of her (she’s also getting an academic achievement award). It’s an extra big deal because she’s been in college for a few years longer than most people, she originally went to Georgia Tech but after a few years there she realised it’s not what she wanted to so transferred to SCAD and since the schools are so vastly different not many credits transferred over, so she was more of less starting her college career over again! She’s done amazing things though and she is so good at what she does, so much so she already has a full time job in her chosen field, one she’s been working full time since January while also going to school full time – how she’s kept her straight A’s I will never know (SCAD is NOT an easy school, they work you to the bone!). So this weekend I am partying with her (as well as at Fiesta Friday of course) and celebrating her great achievements. I will be making the peanut butter stuffed version of these cookies for her party so it’s only fitting I post the recipe today

Cheesecake Stuffed Triple Chocolate Pudding Cookies

I have posted the base recipe for these cookies before but I’ll include it in this post too, I don’t know about you but I get easily confused jumping between blog posts to get parts of recipes! It’s a very simple recipe anyway so I have no excuse not to to type it up again! The most important ingredient for these cookies is instant pudding mix, which is pretty hard to get in the UK. I normally stock up on some when I’m in the US and take it back with me so I can have yummy cookies all year round! You can buy it on amazon though and you might even be able to substitute Angel Delight (I keep meaning to try this to see how it works, one day I will!). These cookies also are packed full of dark chocolate chunks and milk chocolate chunks (I actually used Galaxy Counters because I had some in the house) and of course cocoa powder – so really these are quadruple chocolate but I prefer saying triple (I’m set in my ways, I don’t know what to tell you haha)

Cheesecake Stuffed Triple Chocolate Pudding Cookies

I’ll be bringing these yummy cookies along to Fiesta Friday so I hope everybody likes them! After you’ve finished drooling over Angie’s yummy vegetarian dish, please do go check out the co-hosts Mr Fitz and Justine, their blogs won’t fail to inspire you!

And I hope I have time to bake this week otherwise I’ll be bringing cookies to the party three weeks in a row!

[recipe title=”Cheesecake Stuffed Triple Chocolate Pudding Cookies” servings=”18-24″]

Ingredients:

  • 2 cups plain flour
  • 1/4 cup cocoa powder
  • 1 tsp bicarbonate of soda
  • 1 cup unsalted butter, softened
  • 1/4 cup caster sugar
  • 3/4 cup lightly packed brown sugar
  • 1 box instant chocolate pudding (NOT sugar free or cook-and-serve)
  • 1 tsp pure vanilla extract
  • 2 eggs
  • 12 oz chopped dark chocolate
  • 6oz chopped milk chocolate

For the Peanut Butter stuffing:

  • 4oz cream cheese, full fat
  • 1/4 cup icing sugar
  • 1/2 tsp pure vanilla extract

Method:

  • Mix the cream cheese, icing sugar and vanilla together in the bowl. Cover with plastic wrap and place in the fridge while you make cookies
  • Mix the flour, bicarb and cocoa powder in a bowl and set aside
  • Combine butter, sugars, pudding mix and vanilla in a mix bowl. Beat until smooth and creamy. Beat in the eggs one at a time until fully combined. Gradually add the flour mixture and beat until just combined, scraping down the sides to make sure all is incorporated.
  • Stir in chopped chocolate by hand until evenly dispersed.
  • Scoop about 2 tbsp of cookie dough per cookie and roll into balls. Place onto lined cookie sheet and flatten into disks. Take cream cheese filling out of fridge and spoon a small amount (about 1/2 tsp) into centre of cookie disks. Roll the cookie around the cream cheese filling, ensuring no cream cheese can be seen and roll back into balls (some may peek through, don’t worry about that too much). Place on cookie sheet with about 2 inches between each cookie, they shouldn’t spread too much but you want to leave plenty of room either way.
  • Cover with plastic wrap and place in the fridge for at least 2 hours, this will stop the cookies from spreading and flattening out too much.
  • Preheat the oven to 350F and bake for about 15 minutes, until cookies are just set around edges and tops.
  • Leave to cool on wire rack. They are great eaten when still warm though.

Notes

  • Store cookies in an air tight container and keep in fridge
  • You can flavour the cheesecake with whatever you like too, just stir in a couple teaspoons of jam or curd or replace the vanilla with another extract

[/recipe]
Cheesecake Stuffed Triple Chocolate Pudding Cookies


moreposts

peanutcookies

strawberrymarg

cheesecakebrownies


Cheesecake Swirl Brownies

Cheesecake Swirl Brownies

Ridiculously gooey, fudgy brownies swirled with rich cheesecake, there’s only one word for these – AMAZING!

Cheesecake Swirl Brownies

These cheesecake swirl brownies have to be my favourite brownie creation so far, if I had to eat one brownie for the rest of my life it would be these ones, no contest! I think I perhaps underbaked these a little and that’s why they were so decadently gooey but I wouldn’t change a thing and you shouldn’t either! The texture is perfect and melts beautifully with the creamy cheesecake

Cheesecake Swirl Brownies

The brownie base for these is an adapted version of the cocoa brownies recipe, they’re still made with cocoa but I upped the eggs to make them moister (is that a word?!). I also added baking powder to give them a little rise and increased the butter to keep them fudgy! They’re then stuff full of chunky chopped chocolate, meaning they just ooze chocolate with every bite! I think I like this adapted recipe even better, but maybe that’s the cheesecake talking!

Cheesecake Swirl Brownies

The cheesecake is a nice simple cheesecake mix, very rich and creamy making it the perfect brownie partner. And all you need to do is mix up the cheesecake ingredients and swirl it into the brownie batter. I find the best way to do this is run the back of a dessert spoon in lines down the brownie batter making little trenches, pour the cheesecake into the trenches and then use a knife to run lines in the opposite direction. Then you bake them until you have cheesecake brownie heaven! I adore this cheesecake swirl brownie recipe and I hope you will too!

Cheesecake Swirl Brownies

[recipe title=”Cheesecake Swirl Brownies”]
Ingredients 

For the brownies:

  • 225g unsalted butter
  • 500g caster sugar
  • 4 large eggs, room temperature
  • 1 tbsp vanilla
  • 160g cocoa powder
  • 1/2 tsp salt
  • 1 tsp baking powder
  • 190g plain flour
  • 200g chopped dark chocolate

For the Cheesecake:

  • 225g cream cheese, room temperature
  • 80ml sour cream
  • 115g caster sugar
  • 1/2 tsp vanilla
  • 1 large egg, room temperature


Method

  • Grease and line 9″ x 13″ brownie pan and preheat oven to 180C/350F
  • For the brownies, melt the butter with the sugar in microwave in 30 second intervals, until all is melted, stirring between intervals. Allow to cool slightly
  • Add the cooled melted butter and sugar to a mixing bowl. Add the eggs and vanilla and beat with a wooden spoon until smooth.
  • Add the cocoa powder, salt, baking powder and flour and beat until all combined.
  • Stir in the chopped chocolate and spread batter into the pan.
  • To make the cheesecake, beat together all the cheesecake ingredients until smooth.
  • Make trenches (4 or 5) along the length of the brownie batter using the back of a dessert spoon and fill each trench with the cheesecake mixture. Run a knife in rows the opposite way to the trenches to “swirl” the cheesecake into the brownie batter
  • Bake for 30 minutes
  • Cool in pan on a wire rack for 10 minutes, then transfer to the fridge too cool before cutting into squares

Notes

  • Bake for about 40 minutes if you want a less gooey, underbaked texture.
  • Store in the fridge, they will last about a week in a sealed container (but you’ll be lucky if they last a day once people taste them!)
  • It’s important to make sure the butter isn’t too hot when you add the eggs or they’ll start to cook!

[/recipe]
Cheesecake Swirl Brownies

 moreposts

cocoa brownies

whitecloud

fig bars recipe


Spiced Chocolate & Orange Hot Cross Buns

The perfect recipe for this Easter weekend!

Spiced Chocolate and Orange Hot Cross Buns

I’d been thinking about what to bake for Easter for a while and my mind kept going back to hot cross buns, even though I’m not a huge fan of them. So my challenge was to make these traditional Easter buns even more festive and tasty, and so these spiced chocolate & orange hot cross buns were born, I think I did a pretty good job!

Spiced Chocolate and Orange Hot Cross Buns

These sweet and sticky buns are loaded with chocolate just like the Easter bunny intended and warmed up with lovely spices and hints of orange. They’re finished off with a gooey, sticky orange glaze to give them that extra yum factor!

Spiced Chocolate and Orange Hot Cross Buns

These do require a little patience to make, but with only two rising times you’re not doing too badly for a hot cross bun recipe! And even though they’re “quick”, you won’t see any decrease in yummyness (a technical baking term), they’re still soft and delicious! It’s a fairly simple recipe too, and a bit of a messy one while you’re rubbing the butter into the flour, cocoa, spices and salt with your fingers. Then it’s spoon city as you stir in the sugar and yeast and then beat in the eggs and milk. Knead. Rise. Knead some more (adding chocolate and orange!) and rise again until finally it’s time for the oven (but not before those all important crosses!), then you just glaze and eat! These are best served warm and with lashings of butter, preferably this cinnamon honey butter because it’s to die for!

Spiced Chocolate and Orange Hot Cross Buns

Hot cross buns are traditionally served on Good Friday so I am a little late with this post, but let’s be honest you can enjoy these yummy buns all Easter weekend, even all year (I know, I’m just talking crazy now!!). It may be midnight in the UK, but it’s never too late to whip up a batch of yummyness, so get your apron on and get baking, you’re family will thank you!

[recipe title=”Spiced Chocolate & Orange Hot Cross Buns” servings=”12″]
Ingredients

For the buns:

  • 400g strong white flour, plus extra for dusting
  • 25g cocoa powder
  • 1tsp cinnamon
  • 1/2 tsp nutmeg
  • 1/4 tsp mixed spice
  • 1tsp salt
  • 85g chilled unsalted butter, chopped
  • 100g golden caster sugar
  • 2 sachets dried instant yeast (7g each)
  • 1 large egg, room temperature
  • 190ml lukewarm milk
  • 75g dark chocolate, chopped
  • Zest of 1 orange
  • 75g chopped candied orange peel

For the crosses:

  • 75g strong white flour
  • 1 tbsp vegetable oil
  • 5tbsp cold water

For the glaze:

  • Juice of 1 orange
  • 50g golden caster sugar

Method

For the buns:

  • Sift the flour, cocoa powder, spices and salt into a bowl. Add the chopped butter and, using your gingers, rub the butter into the flour mix until you get a breadcrumb texture. Stir in the sugar and yeast and make a well in the centre
  • Whisk together the warm milk and egg and pour into the well, quickly beat with a wooden spoon until combined.
  • Knead on a lightly floured surface for around 10 minutes, until you have a soft, smooth dough. Put in a large, lightly oiled bowl covered with oiled cling film. Leave to rise for an hour in warm place until doubled in size
  • Place the risen dough on a lightly floured surface and knead in the chocolate, zest and candied peel until it is all distributed evenly.
  • Divide into 12 equal balls and shape into smooth buns. Place on a lightly oiled baking tray, leaving a small gap between each roll. Cover loosely with oiled cling film and leave to prove in a warm place for about 45 minutes or until doubled in size. The buns should now be getting cozy and touching each other.
  • Preheat the oven to 200C/390F

For the crosses:

  • Mix the flour, oil and water together to form a smooth paste. Pop into a piping bag and snip the end off.
  • With a serrated knife, score the tops of the buns with a cross. Pipe the mixture along the lines, you can use your knife to cut off the flow.
  • Bake the buns in the oven for 15-20 minutes until firm to the touch

For the glaze:

  • Put the sugar and orange juice into a small pan and heat on low until all the sugar as dissolved
  • Bring to the boil and bubble until thickened, around 3 minutes.
  • Once the buns have been removed from the oven, turn out onto a cooling rack and glaze.

Notes:

  • The buns are best served warm
  • They will stay fresh in an air tight container for about 3 days, but buns that are going stale will still be great toasted
  • You can freeze them too, just wait to glaze them. Once defrosted, warm through and glaze before serving.

[/recipe]
Happy Easter Everybody!

Spiced Chocolate and Orange Hot Cross Buns

moreposts

cinnamon honey butter recipe

cinnamon rolls recipe

fig bars recipe


Devil’s Food Cake

Happy Mother’s Day everybody!

Devil's Food Cake

Today is Mother’s Day in the UK and to celebrate I made my mum a yummy devil’s food cake, complete with fresh whipped cream, chocolate ganache and chocolate truffles! If you’re gonna do chocolate, you may as well go all out! This recipe will be for the devil’s food cake, you can pair it with whatever you like of course (white cloud frosting is an excellent pairing)!

Devil's Food Cake

I got this recipe from Sally’s Baking Addiction, and I can tell you right now I didn’t change a thing! I adore her blog and all of her recipes (her cookbook is on my wish list on amazon too!), you should definitely check her out.

Devil's Food Cake

This recipe calls for a cup of strong, hot coffee. Coffee is one of those things that brings out the flavours in chocolate, you add it to your chocolate cake recipe and instantly you’ve intensified your chocolate goodness! This is actually the first time I’ve added coffee to chocolate cake, which is terrible I know, but I have this crazy aversion to coffee I violently hate it. And although I knew in theory that I wouldn’t be able to taste the coffee, I was convinced I would be able to! Of course, I couldn’t taste it at all in this cake and I’m now cursing myself for being such a baby and not doing this sooner. This cake is so rich and fudgy and just delightful, everything a devil’s food cake should be!

Devil's Food Cake

I said above that I didn’t change anything in this recipe and there’s good reason for that. Every single ingredient is perfectly matched with what you want this cake to come out like. The oil makes it lovely and moist, butter would only distract from the deep chocolate flavour. You want to use natural unsweetened cocoa for this cake, do not use dutch processed or the bicarb won’t react with the cocoa and you won’t get that gorgeous reddish tint and that distinctive flavour. And if you take away the buttermilk you won’t get such a moist crumb (Sally said to trust her on that and I did!). Then of course without the coffee that chocolate certainly won’t hit you so hard. All that’s left are your sugar, flour and eggs – you of course need the eggs to be room temperate as is true with pretty much any baking. If, like me, you always forget to take your eggs out of the fridge you can bring them to room temperature by letting them sit in warm to hot water for about 5 minutes.

Devil's Food Cake

This cake has a nice quick bake on it too, you definitely don’t want to over bake it and take away any of that moistness (count how many times I’ve said “moist” in this post!). Share the batter between two 9″ sandwich tins and bake for about 25 minutes or until your cake tester comes out clean. My cake is actually a 6″ as I made cupcakes out of it too! You can then fill and ice it with whatever you love with chocolate, my pairings definitely made it all that much richer but I think this cake would be great with milk chocolate frosting as Sally had it or even vanilla, yum!

Devil's Food Cake

This one’s for you mum, thanks for being the best mum ever! (and she enjoyed it very much!)

[recipe title=”Devil’s Food Cake”]

Ingredients

  • 1 and 3/4 cups plain flour
  • 1 and 3/4 cups caster sugar
  • 3/4 cup unsweetened cocoa powder (not dutch processed)
  • 1 tsp baking powder
  • 2 tsp bicarbonate of soda (baking soda)
  • 1 tps salt
  • 1 cup buttermilk
  • 1/2 cup vegetable oil
  • 2 large eggs, at room temperature
  • 1 tsp pure vanilla extract
  • 1 cup freshly brewed strong hot coffee

Method

  • Preheat oven to 350F/170C. Grease and line two 9″ cake pans
  • Sift together the flour, sugar, cocoa, baking powder, bicarb and salt and set aside
  • Combine the buttermilk, oil, eggs and vanilla using a stand mixer or hand mixer then gradually add the dry ingredients with the mixer on low. Add the coffee. You will have a very thin, water like batter – don’t worry, it’s supposed to be like that!
  • Pour the batter evenly between the tins and bake for approx 25 mins or until your cake tester comes out clean.
  • Leave to cool in pan for 5 minutes, then turn out on wire rack and leave to cool completely before filling and frosting

[/recipe]
Devil's Food Cake


moreposts

2014-03-30 22.54.24

whitecloud

cocoa brownies

Cocoa Brownies

Cocoa Brownies

These are super fudgy and chocolatey brownies that are made with cocoa powder rather than solid chocolate, crazy right?

I was having a major brownie craving but I didn’t have your traditional brownie ingredients in the house. I did however have cocoa, so I threw caution to the wind and these were born! It was the best decision I’ve made in recent history.

Cocoa Brownies

Like most of you probably are, I was put off by the idea of making cocoa brownies. What’s the point in eating brownies if they’re not perfect! But when the craving becomes too strong, you can’t be held responsible for your actions. After some searching on the internet I found this recipe that was adored by so many blogs I came across, the recipe is originally by Alice Medrich and since trying it by myself I can see why everybody was raving! It ticks every brownie box and then some, fudgy delightfulness in every single bite!

Cocoa Brownies

I have a shameful history with brownies. I tried to make them many, many years ago and they came out rock solid (I’m pretty sure J K Rowling modelled Hagrid’s rock cakes on my brownies) and I was distraught. That was about 10 years ago, this is only the second time I’ve made them since (I don’t deal with failure well!), and what a way to restore my brownie making faith in myself! I really do urge you to give these a go the next time you have a real brownie craving and only have cocoa in the cupboards, you won’t regret it and neither will your tummy!

Cocoa Brownies

These brownies are made pretty similarly to your regular brownies and you can do it by hand. You melt the butter, sugar, cocoa and salt together. Let it cool if it’s hot and add the eggs and vanilla, beat the mixture until it’s smooth and shiny and add the flour. Beat hard for a couple of minutes, giving you a pretty thick mixture. I had some m&ms laying around so I mixed those in too. Then bake for no more than 30 minutes and voila, yumminess is in your hands (make sure they’re gloved hands, no burns please!).

Cocoa Brownies

[recipe title=”Cocoa Brownies”]
Ingredients

  • 140g unsalted butter
  • 250g caster sugar
  • 75g unsweetened cocoa powder
  • 1/4 tsp salt
  • 1/2 tsp pure vanilla extract
  • 2 large eggs
  • 60g all purpose flour

Method

  • Preheat the oven to 325F/160C and grease and line 8×8 baking pan.
  • In a large bowl, combine the butter, sugar, cocoa and salt and melt in the microwave in 30 seconds intervals, stirring between until all melted.
  • If the mixture is hot, leave to cool slightly as you don’t want to cook the eggs!
  • Using a wooden spoon, stir in the vanilla. Then beat in the eggs one at a time, combining each time until batter is thick and shiny.
  • Add the flour and stir vigorously for a couple minutes. Stir in any nuts or chocolate chips you may be adding.
  • Pour into pan and spread evenly.
  • Bake for 25-30 minutes until a skewer comes out almost clean, a few moist crumbs is good, you just don’t want them still wet and you definitely don’t want to over bake them!
  • Leave them to cool on a wire rack before cutting into squares. Put them in the fridge for a few hours to get nice clean lines when you cut them!

[/recipe]

Cocoa Brownies

moreposts

2014-03-19 15.37.47

2014-03-19 15.38.59

2014-03-19 15.41.33