I’m writing this post from my bed while I watch Once Upon a Time. Do any of you watch this show? I recently started watching it, partly on the recommendations from friends and partly because an actor I love is in it. That actor? Sebastian Stan. He’s an amazing actor, he can make you cry with just a look in his eyes! His first episode just started and so let’s just say I’m a little distracted, at this rate this post won’t be finished until next month! Did I mention he’s also extremely attractive?! For those of you who watch the show but aren’t familiar with the name Sebastian Stan – he plays Jefferson/The Mad Hatter. Those of you who don’t watch the show but are still curious, he also plays Bucky Barnes in Captain America and Carter Baizen in Gossip Girl (plus plenty of other things, but those would probably be the most well known).
This is the perfect post for me to dawdle on, since making sourdough from scratch is a lengthy process requiring a lot of patience. Even more so when you’re making your starter from scratch like I did. Of course, if you know somebody who can supply you with a starter from their own by all means use it – but if you don’t, it really is simple enough to make your own, it just takes time. Wild yeast exists everywhere, kind of like magic – baker’s magic anyway. All you need to do is wake it up, and you do that by mixing flour and water and letting it bubble up and grow the yeast that already exists within the flour. I don’t really understand the science behind it, so I’ll stick with it being magic! If you’re the kind of person who likes to know how the science behind it all works, I suggest google, it’s much more reliable than me!
I’ll give you a day-by-day guide on how to get your sourdough starter going here, then at the end of the post I’ll give you a recipe for Sourdough Bread using your starter. You don’t need much to make a starter, just plain flour (all purpose), water, a (preferably) clear container large enough to hold 4 cups/1 litre with space, measuring scales, a spoon and a lid/plastic wrap. It’ll take about 5 days for your starter to be ready.
Day 1 – start your engines… I mean, starter
Weigh 100g Flour and 100g water (I know it feels wrong to weigh a liquid, but trust me on this. 100g is 3.5oz) and pour into your container. Mix vigorously until you form a smooth, liquidy and thick batter. Loosely cover with plastic wrap, or place lid on ajar.
Place container somewhere that’s a consistent room temperature and leave for 24 hours
Day 2 – Feed me seymour!
Fetch your starter, you may see a few bubbles in it that means your yeast is coming to life! The bubbles are from carbon dioxide, which I believe is formed from the yeast eating the flour – that sound like real science right? Let’s go with that! Don’t worry if you don’t have any bubbles yet, some yeast is sleepier than others!
Weigh out another 100g flour and 100g water and mix it into your batter vigorously until smooth. Cover as before and place it back in it’s spot for 24 hours.
Day 3 – It’s hungry again!
Grab your starter and take a look, you should have lots of nice bubbles forming at the top. If you used a clear container, have a look at the sides you might see some bubbles going through too. Again, if you don’t have bubbles yet don’t panic – there’s still time. It should have a bit of a sour smell by now, that’s good – that’s acidity keeping away bacteria!
Weigh out another 100g flour and 100g water, mix it vigorously into your starter until all combined and smooth. Re-cover and place it back in it’s spot for 24 hours.
Day 4 – Yep, you guessed it, it needs feeding again!
Your starter should have lots of bubbles going all through it now, big ones and small ones. It should have a stronger, sour smell too. If you don’t have any bubbles yet, add a pinch of store bought yeast when you feed it to help get things started.
Weigh out another 100g flour and 100g water and mix vigorously into your starter until all combined and smooth. It should be easier to stir now too, with all the bubbles loosening it up. Put it back in it’s spot and leave for 24 hours
Day 5 – It’s aliiive!! Your starter is ready to use
Take a look at your starter – it should have doubled in size and it will be very bubbly and frothy!
If you have plenty of bubbles and it’s smelling nice and sour, you’re ready to go. If you still don’t have bubbles and have no signs of activity, something has gone wrong 🙁 Discard the starter and start over in a clean container. If any mold forms on the starter you’ll want to discard and start again too.
If you’re using your starter today, weigh out the amount you need for your recipe (for this bread recipe it’s 100g) and follow next steps. If you’re not ready to bake with it yet, follow next steps.
Maintaining your starter
You no longer need to bulk up your starter, but it will still need to keep feeding it to maintain it. To do this, discard or use half of it, then feed it with 100g flour and 100g water, mixing vigorously. If you’re using your starter in the next couple days, leave it out on the counter and continue discarding/feeding it as above every day – on the day you use it take out 100g (or the amount you need for your recipe) and set aside for your recipe, then feed with 50g flour and 50g water (basically replacing what you took). Cover with plastic wrap with space to breathe (I poke a small hole in the wrap) and place in the fridge. If you’re not using your starter for a longer time, place starter in the fridge after discarding half and feeding once.
To maintain, remove the starter from the fridge once a week and allow to come back up to room temperature. Discard (or use) 100g and add 50g flour and 50g water, mix in vigorously and leave at room temperature for an hour or so to bubble back up. Cover and return to the fridge, repeat once a week.
Tips
- Use filtered water if possible, to avoid any chemicals or limescale potentially damaging the yeast
- During the first 5 days of building up your starter, do make sure you store it in a place that’s at a constant room temperature (around the 20C/70F mark), not somewhere that’s gonna get warmer or colder during the day or night (i.e. by a window).
- Your starter will last indefinitely if you keep feeding it, I know people that have starters that are over 70 years old (these are generally given to them by other people in a big chain).
- You can potentially make this starter with any type of flour, since wild yeast is everywhere. Once you have this one going, you could use it as a “mother” to get started on a say a whole wheat starter!
- Sourdough starters are great for baking bread and other goods, they give it a unique taste and texture and are definitely worth the effort. The yeast isn’t as concentrated as store bought dried yeast though, so it will have a slower rise time.
- The older your starter is, the stronger it will be. If you’re starting from scratch with your starter, it will be weaker and therefore your dough will need longer to rise. With sourdough starters it’s best to follow the amount your recipe says your dough should rise rather than the time. i.e. if your recipe says “leave to rise until double in sized, about 3 hours” then wait until your dough has doubled even if it takes a lot longer than 3 hours. It’ll be worth the wait!
- Sourdough starters aren’t just for baking bread, I’m planning to make donuts with mine soon. If it’s requires yeast you could potentially replace the yeast with your starter , experiment with techniques and flavours, you might discover something awesome!
- I’m still new to this sourdough game so my knowledge certainly isn’t complete, hopefully I have given you enough information to set you off on your journey but google is a wonderful place to keep on learning!
- UPDATE: a tip from Ginger at Ginger&Bread – once your starter is ripe and ready, it will be fine if you leave it untouched for a month or so. It will bubble up nicely once you feed it again! Thanks!
If you have any questions about getting a starter going, please do pop it in the comments! I’ll be happy to help you out where I can, but again I am also new to this so I do have limited knowledge.
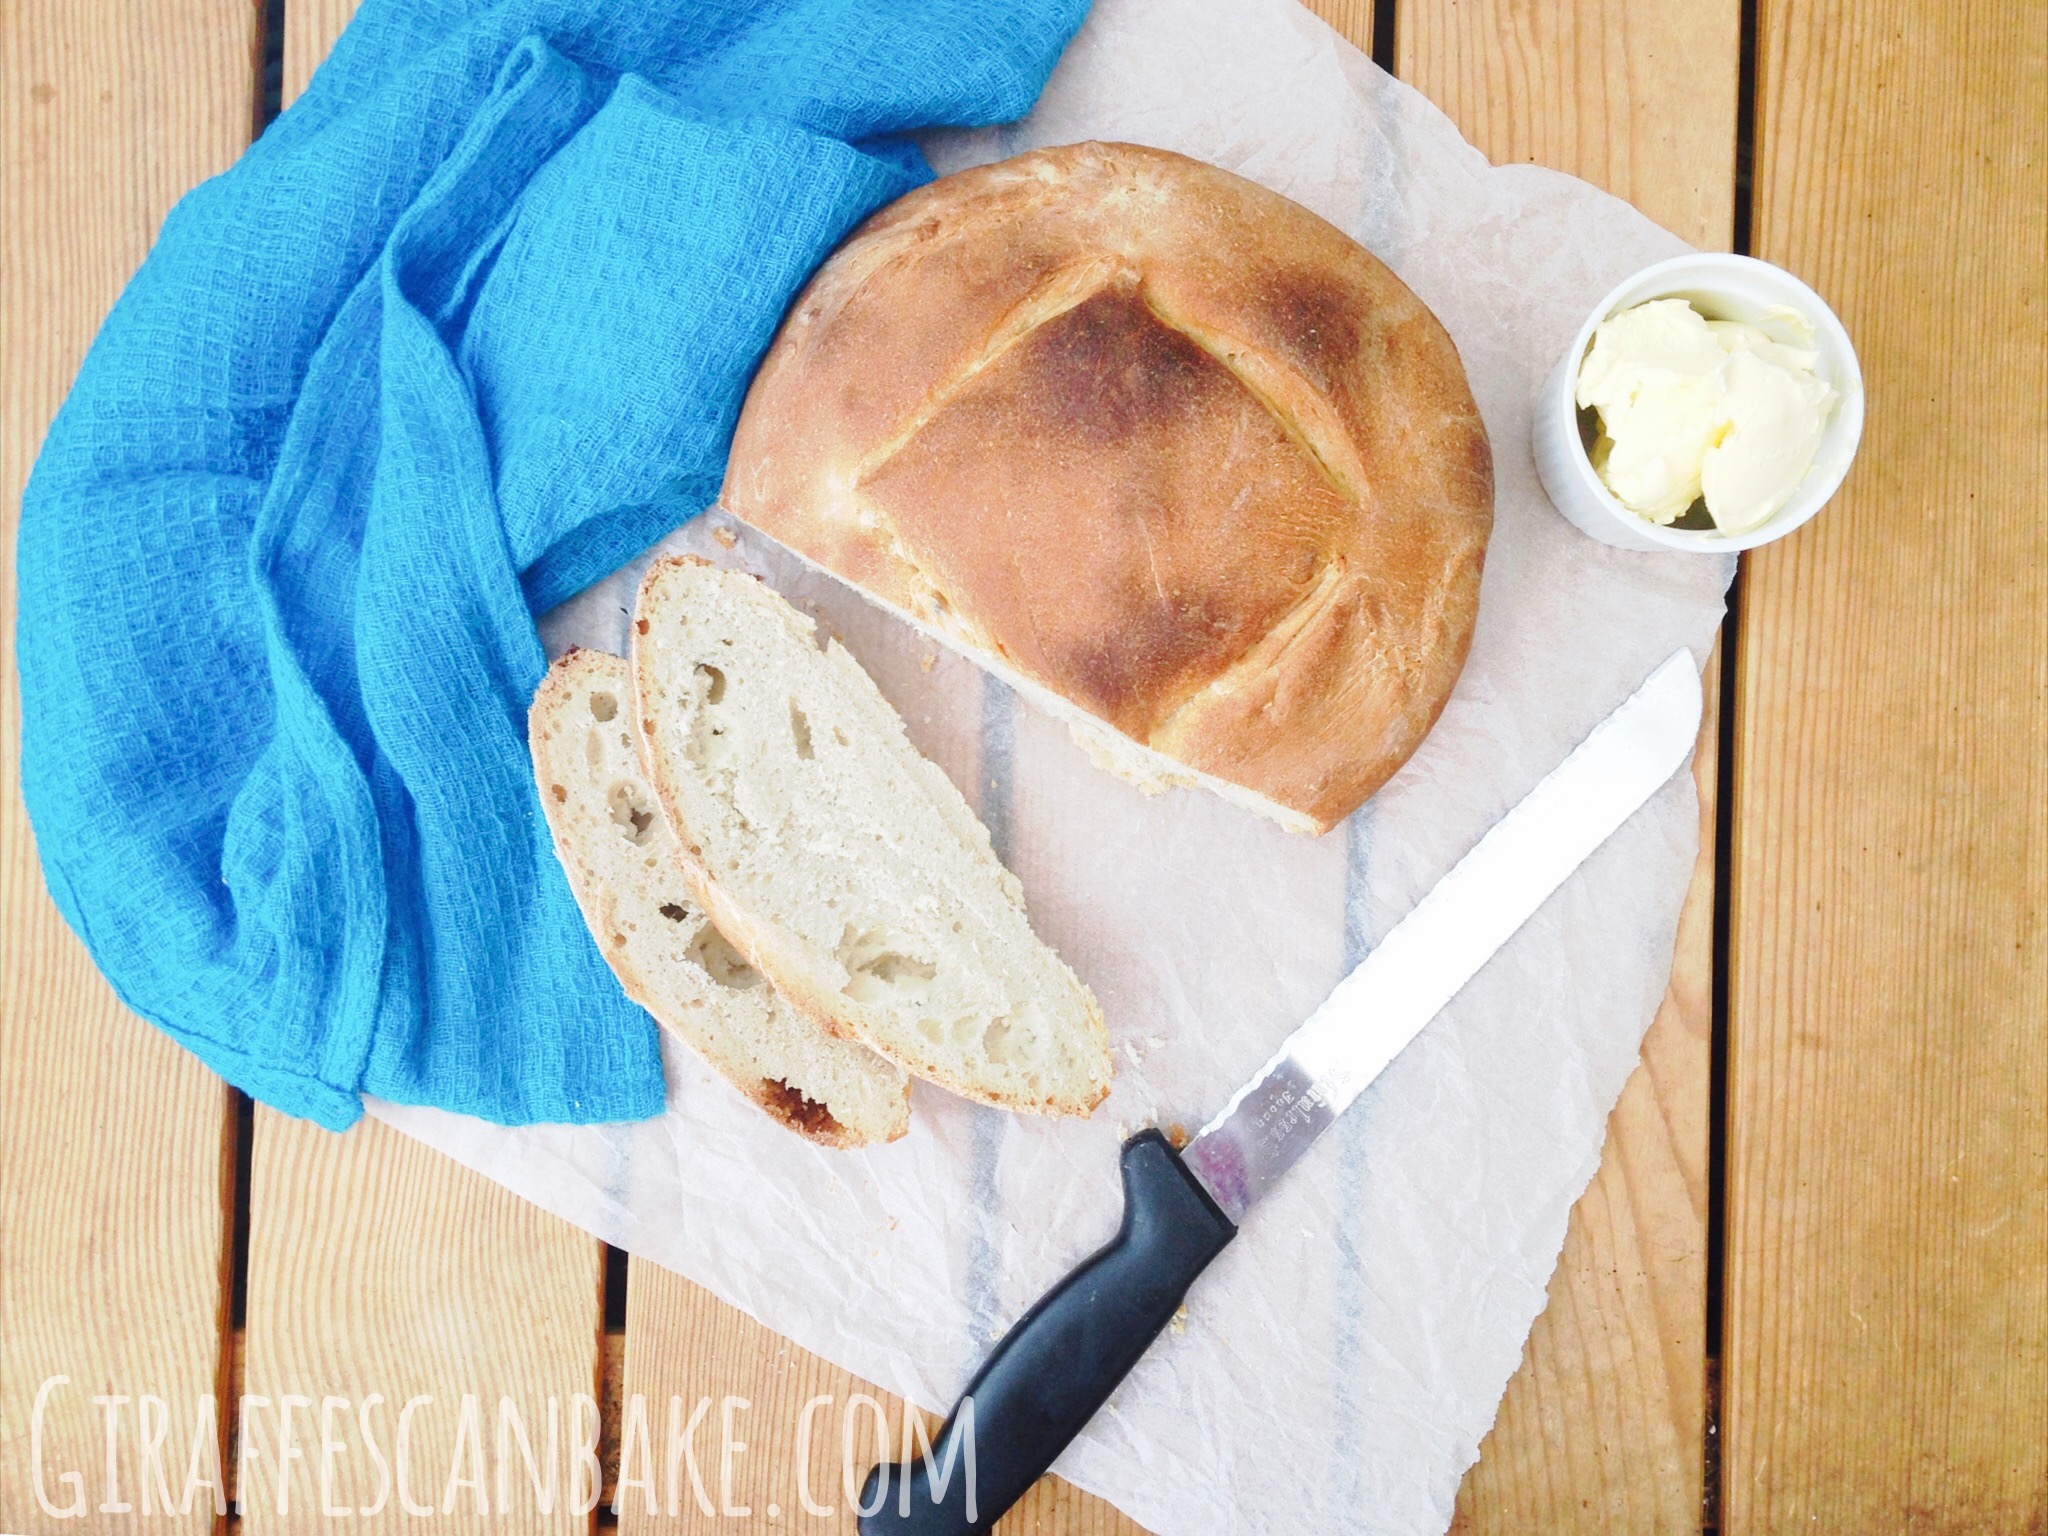
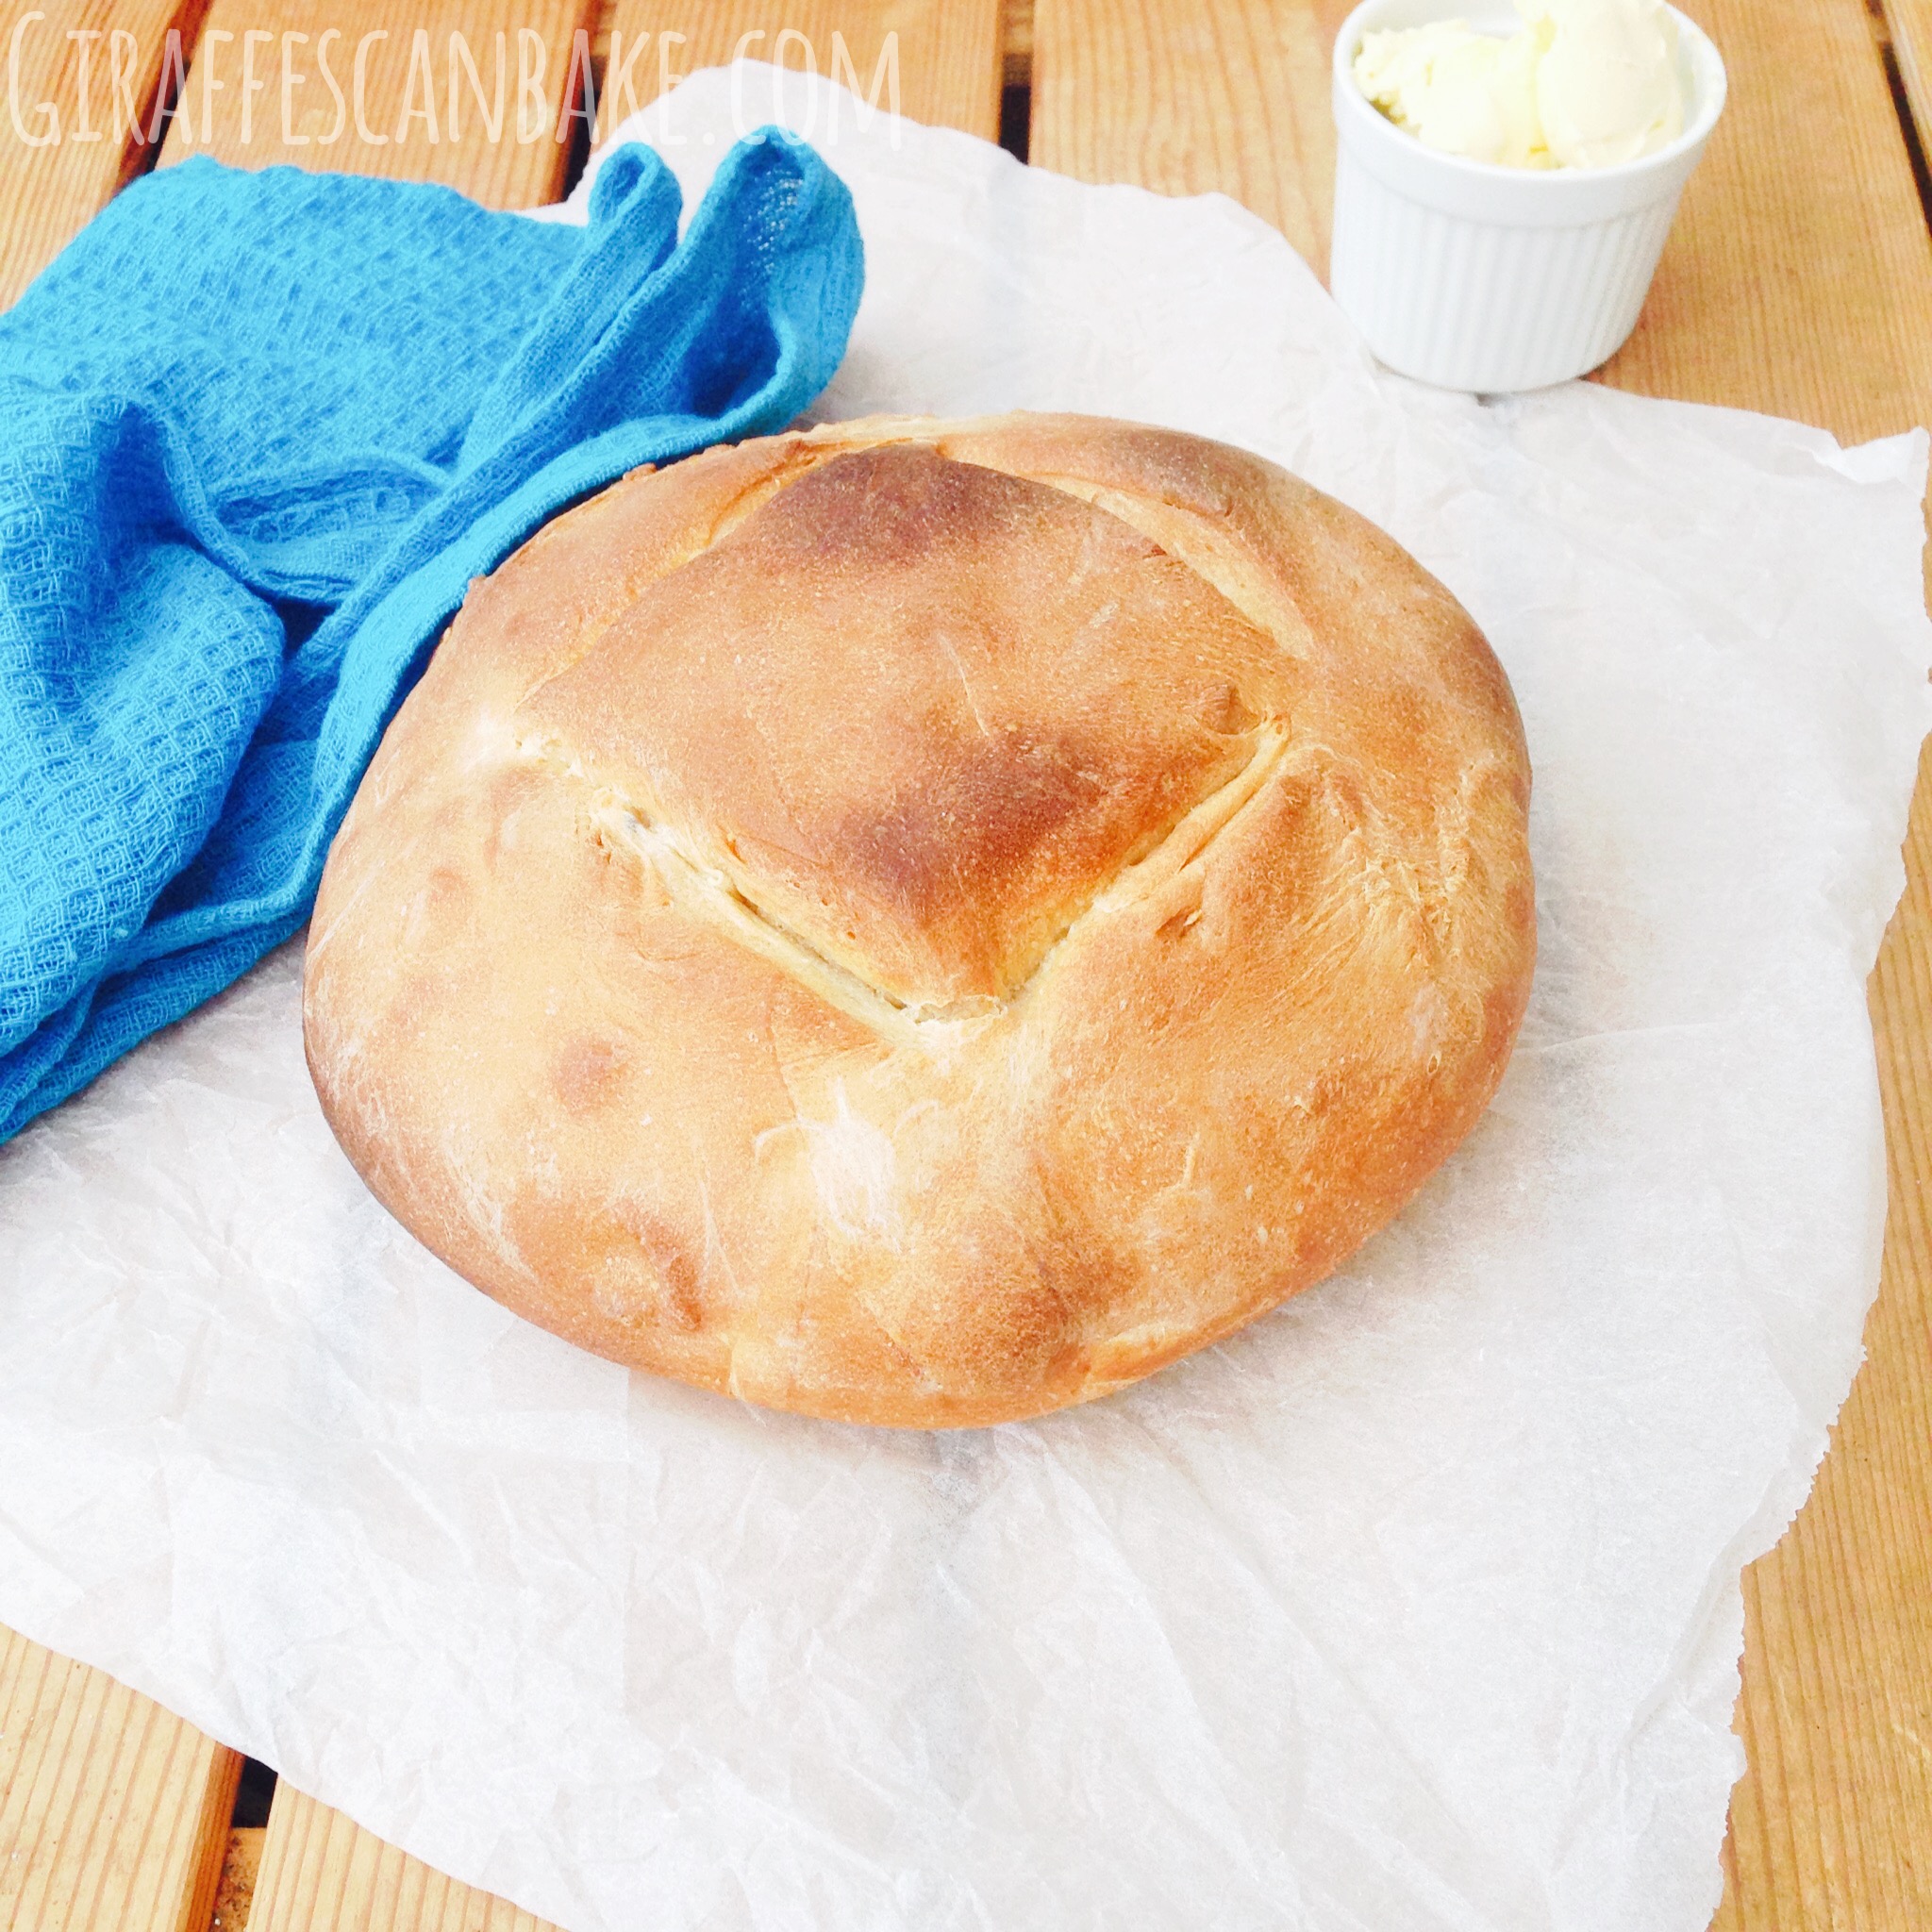
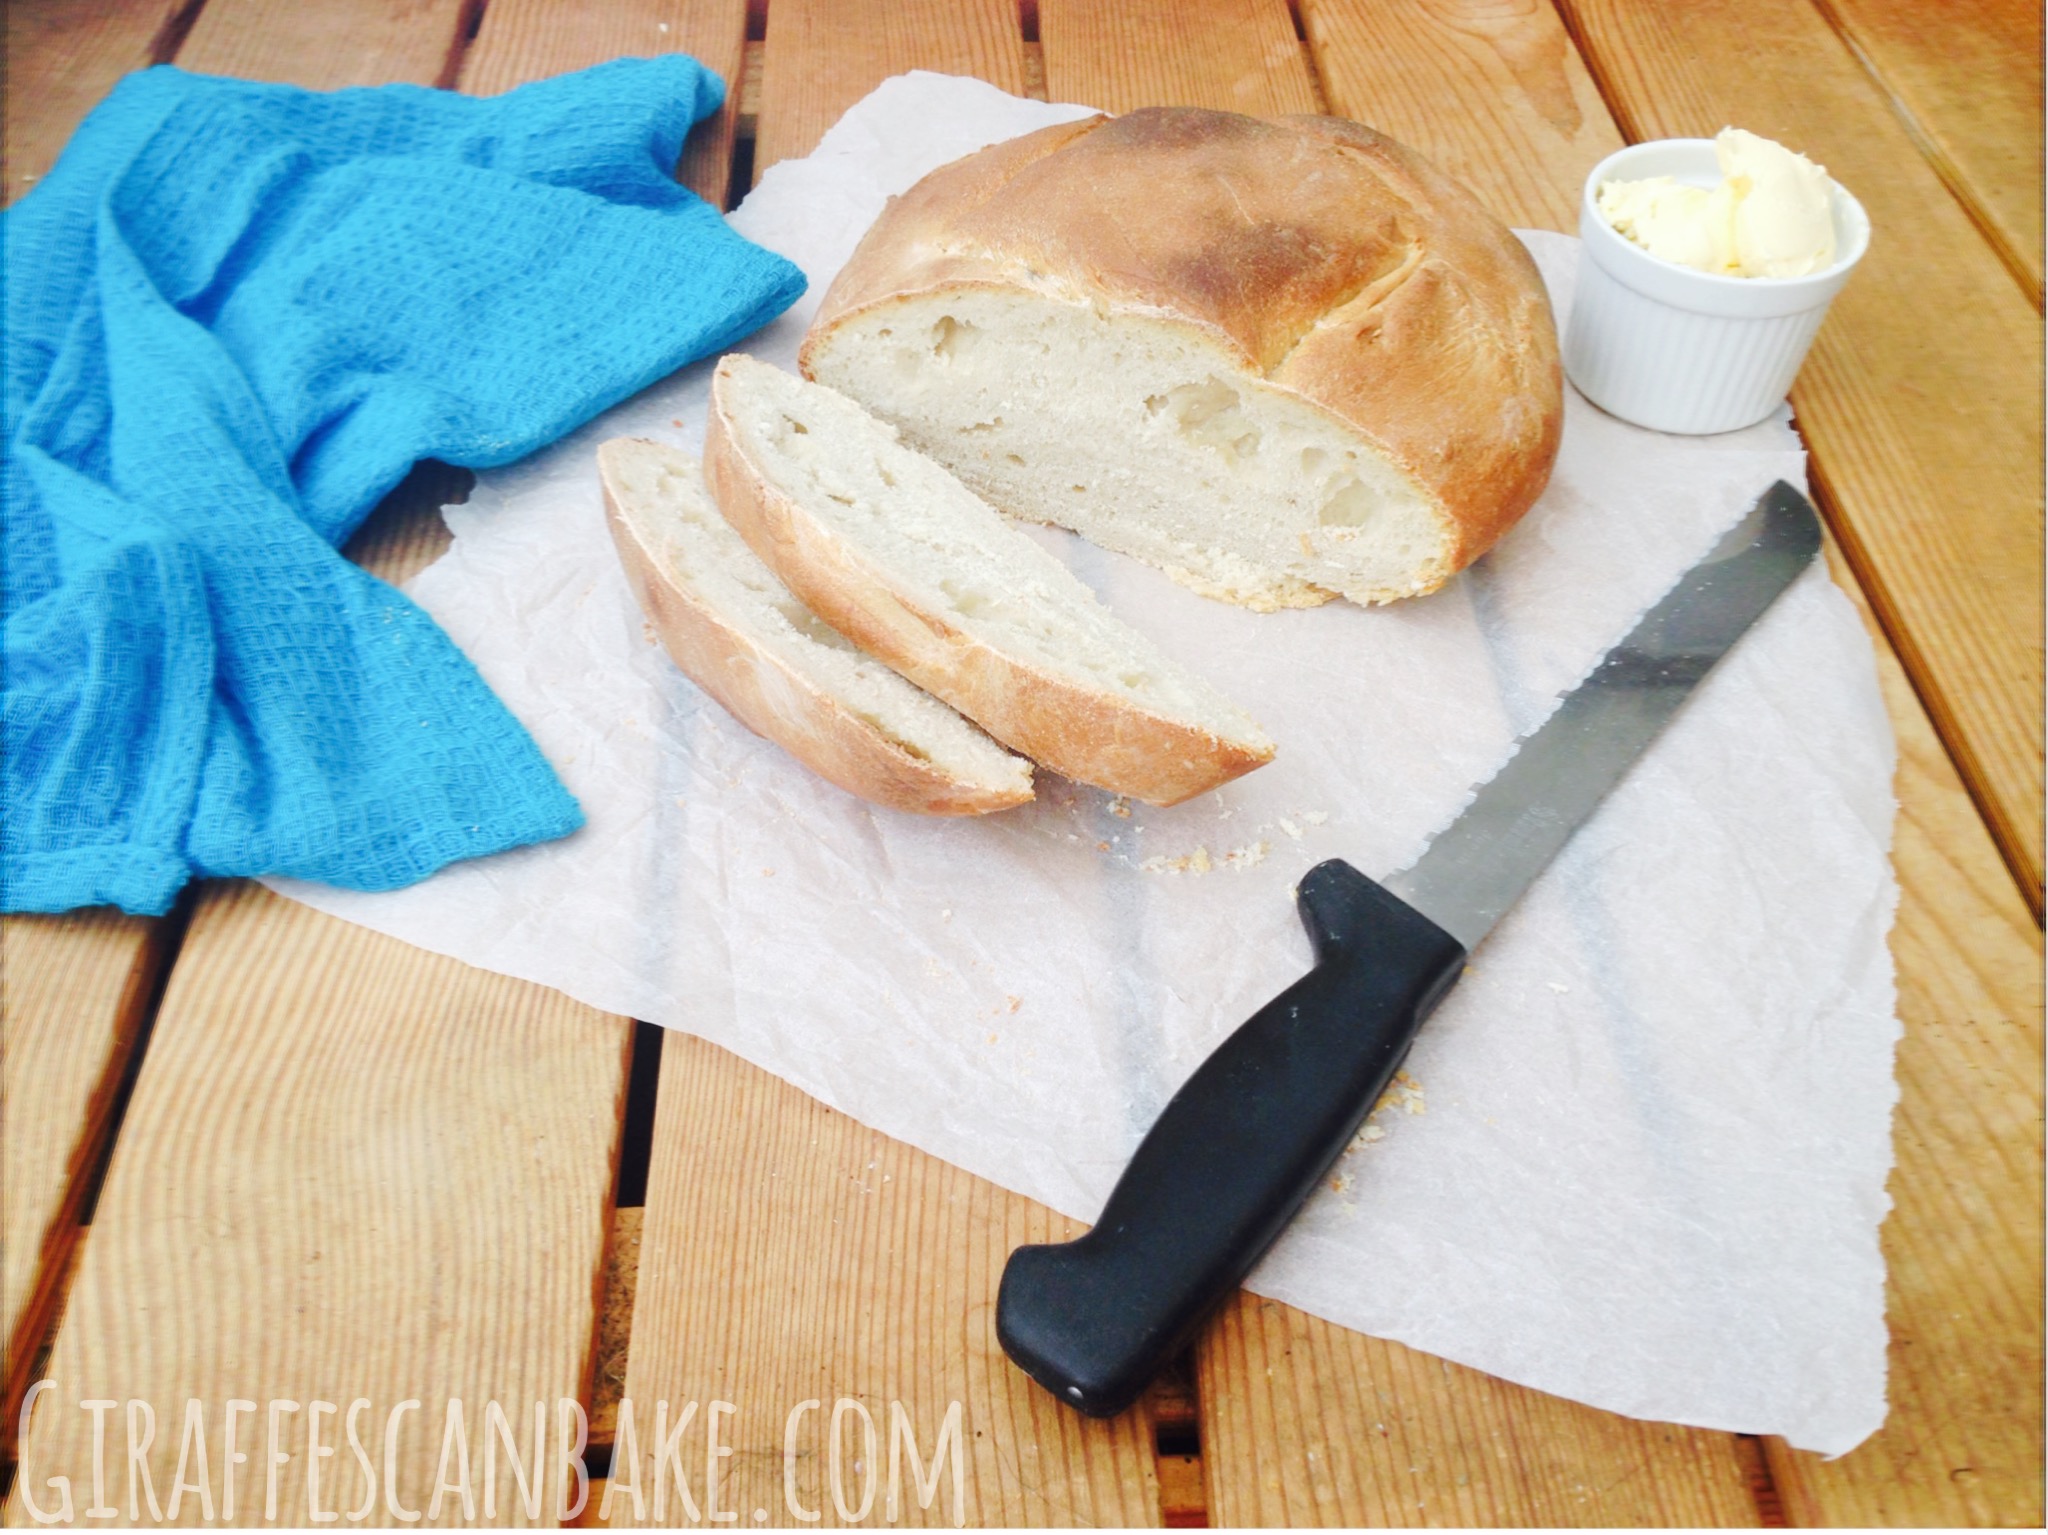
Now for the sourdough bread recipe. It’s a simple recipe with few ingredients, the unique taste you get from a sourdough loaf all comes from that wonderful starter!
Let’s be friends, come join me on social media! You can find me on Twitter, Facebook, Instagram, Pinterest, Google+ and Bloglovin’
I also want to say thank you for the well wishes after my last post. I’m starting to feel a bit better, still a bit over exhausted but I really enjoyed writing this post so I’m sure I’m on the mend!

Sourdough Bread
2014-11-12 00:41:52
Yields 1
A tasty loaf of bread, made using a sourdough starter
- 100g starter, brought up to room temperature if stored in the fridge
- 300ml luke warm water
- 300g plain flour (all purpose flour)
- 1/2 tsp salt
- Sponge mixture
- 350g strong white flour, plus extra for dusting
- 2 tsp salt
- To make the sponge, mix the water, flour and salt together. Add your 100g of starter and stir to combine. Cover with a clean towel and leave to rise in a warm place until it has doubled in size. About 6 hours for a new starter, 3-4 for an older one.
- To make the bread, combine your sponge with the flour and salt. Turn it out onto a lightly floured surface, and knead until it is smooth and stretchy - about 10 minutes.
- Put the dough in a lightly oiled bowl, cover and leave to rise in a warm place until doubled in size. About 4-5 hours for a new starter, 2-3 hours for an older one.
- Tip the dough out onto a floured surface, knock out the air and shape tightly into a round loaf and place on a lightly oiled baking sheet. Cover and leave to prove in a warm place until it doesn't spring back when prodded - about 1-2 hours.
- Preheat your oven to 220C/420F.
- Place a tray of water in the bottom of your oven, the steam will help develop a good crust. Score the top of your loaf with a sharp knife (this will stop the loaf splitting).
- Bake in preheated over for 40-50 minutes until golden, and the loaf sounds hollow when tapped. Leave to cool on a wire rack.
By Michelle @ Giraffes Can Bake
A Tipsy Giraffe https://www.atipsygiraffe.com/


Cinnamon Raisin Swirl Peanut Butter

Cinnamon Honey Butter
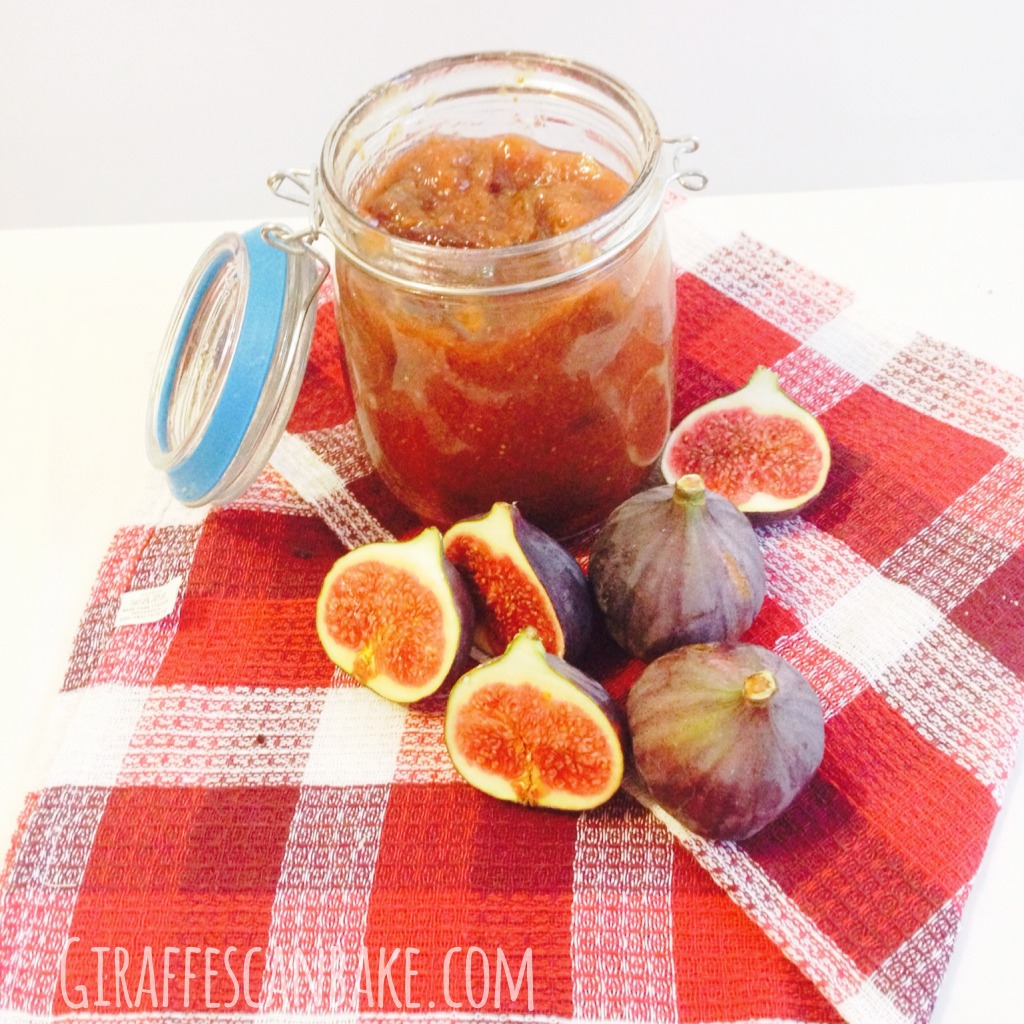
Fig Jam
Sharing With…
Hit Me With Your Best Shot, Project Parade, Inspire Me Wednesday, Create it Thursday, Foodie Fridays, Fiesta Friday, Show Me Saturday, Super Saturday, Scraptastic Saturday, Motivation Monday, Frugal Crafty Home, Time To Sparkle